3D Printer Bed Leveling - The Blu-Tack way!
16 Apr 2017Last month, I decided to sell my good ol’ 3D printer, a HobbyKing incarnation (Turnigy Fabrikator Mini) of the TinyBoy V1, to buy a delta one.
My old printer was one of the cheapest printers when I bought it (end of 2015), fully assembled and from a well-known supplier (something good when you are starting at 3D printing). I really liked my first 3D printer, but its printing volume was too small and the printer was a little bit too slow. I had upgraded it with an extra fan, spool holder, removable bed (no pictures or links, sorry), and a Raspberry Pi running Octoprint before I sold it to my friend Frederico. However, I’ve just realized I don’t have any pictures of my old 3D printer after my upgrades and the only picture I could find (Google Photos is really, really bad at searching for things and it could not even find an album after searching for its name!) was this one:
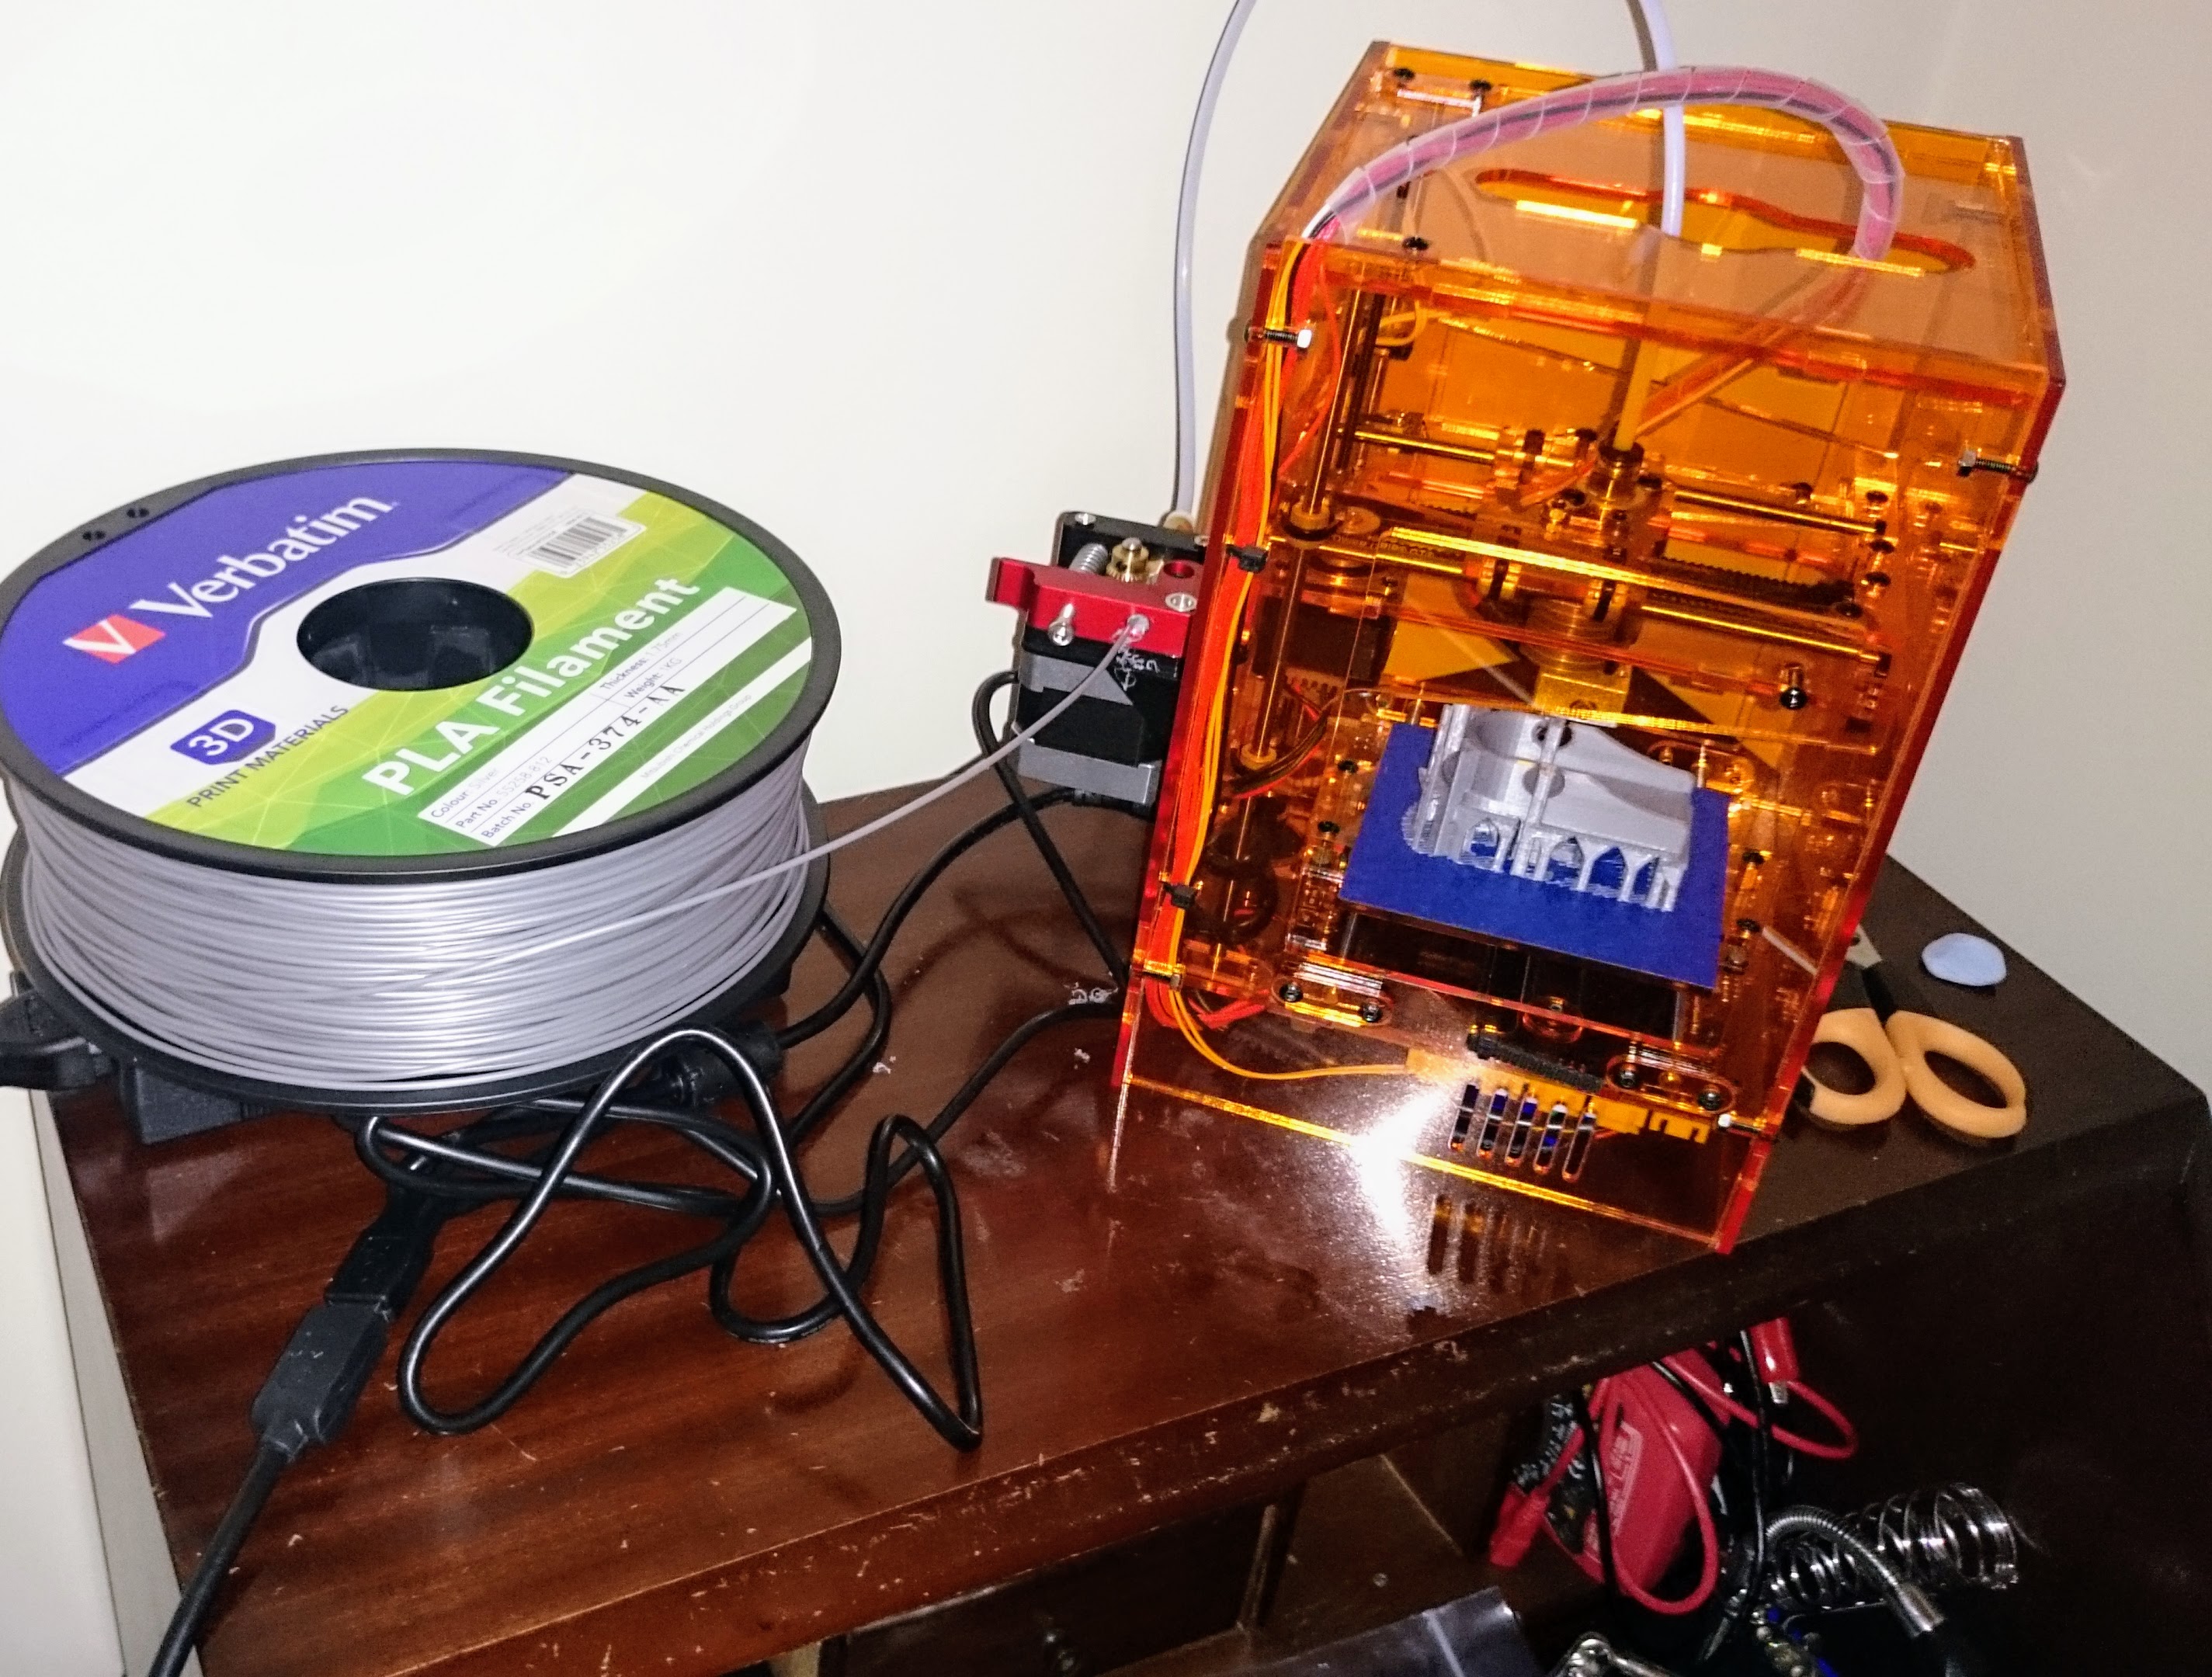
So, I’ve been using 3D printers since the end of 2015, when I got my TinyBoy V1, and I decided that I should go for a kit and start doing more serious hacking. I searched online for a nice and cheap kit, but one at least faster and bigger than my old printer. Additionally, I was looking for something with a small footprint because space is luxury at home. After analyzing a lot of options, I finally decided to buy a linear delta 3D printer instead of a classical cartesian one. The kit I got was from Anycubic (around 200 pounds at Amazon - April 2017), just like the one from this video. Here, I will let my advice: if you don’t like to play around with nuts, bolts and things that don’t seem to fit together at a first look (and sometimes at a second, third…![]() ), buy an assembled printer. Delta printers are faster than cartesian ones because they only need to move around its hot end (normally a bowden extruder). Nonetheless, delta printers need a more complicated modeling (not so complicated if it’s a linear delta printer) to convert the steps from its three stepper motors into precise hot end movements. Actually, what I keep calling here a (linear) delta printer is a type of parallel manipulator driven by linear actuators (remember, the circular movement of the stepper motors is converted into a linear movement).
), buy an assembled printer. Delta printers are faster than cartesian ones because they only need to move around its hot end (normally a bowden extruder). Nonetheless, delta printers need a more complicated modeling (not so complicated if it’s a linear delta printer) to convert the steps from its three stepper motors into precise hot end movements. Actually, what I keep calling here a (linear) delta printer is a type of parallel manipulator driven by linear actuators (remember, the circular movement of the stepper motors is converted into a linear movement).
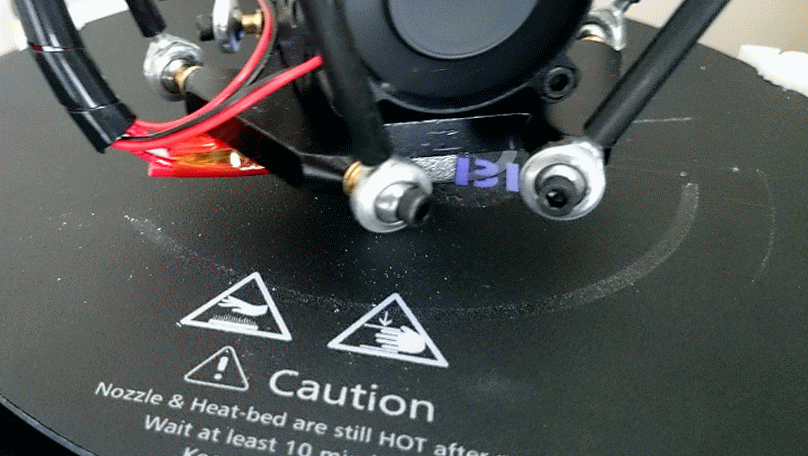
The cheap Anycubic printer I got doesn’t have the automatic leveling sensor since the manufacturer says bed leveling takes too long and it doesn’t work so well ![]() . Ok, they got a point as the current version of the Marlin firmware (1.1.0-RC8 - 6 Dec 2016) doesn’t allow the user to save to EPROM those values and, every time the printer performs the homing, it loses the bed leveling calibration. One possible solution to this problem is leveling the bed manually using one of the many adaptors available (this, this, this and that).
. Ok, they got a point as the current version of the Marlin firmware (1.1.0-RC8 - 6 Dec 2016) doesn’t allow the user to save to EPROM those values and, every time the printer performs the homing, it loses the bed leveling calibration. One possible solution to this problem is leveling the bed manually using one of the many adaptors available (this, this, this and that).
The only problem is: how can you print one of the adaptors I’ve presented above if your printer does not work properly yet? My solution was Blu-Tack!
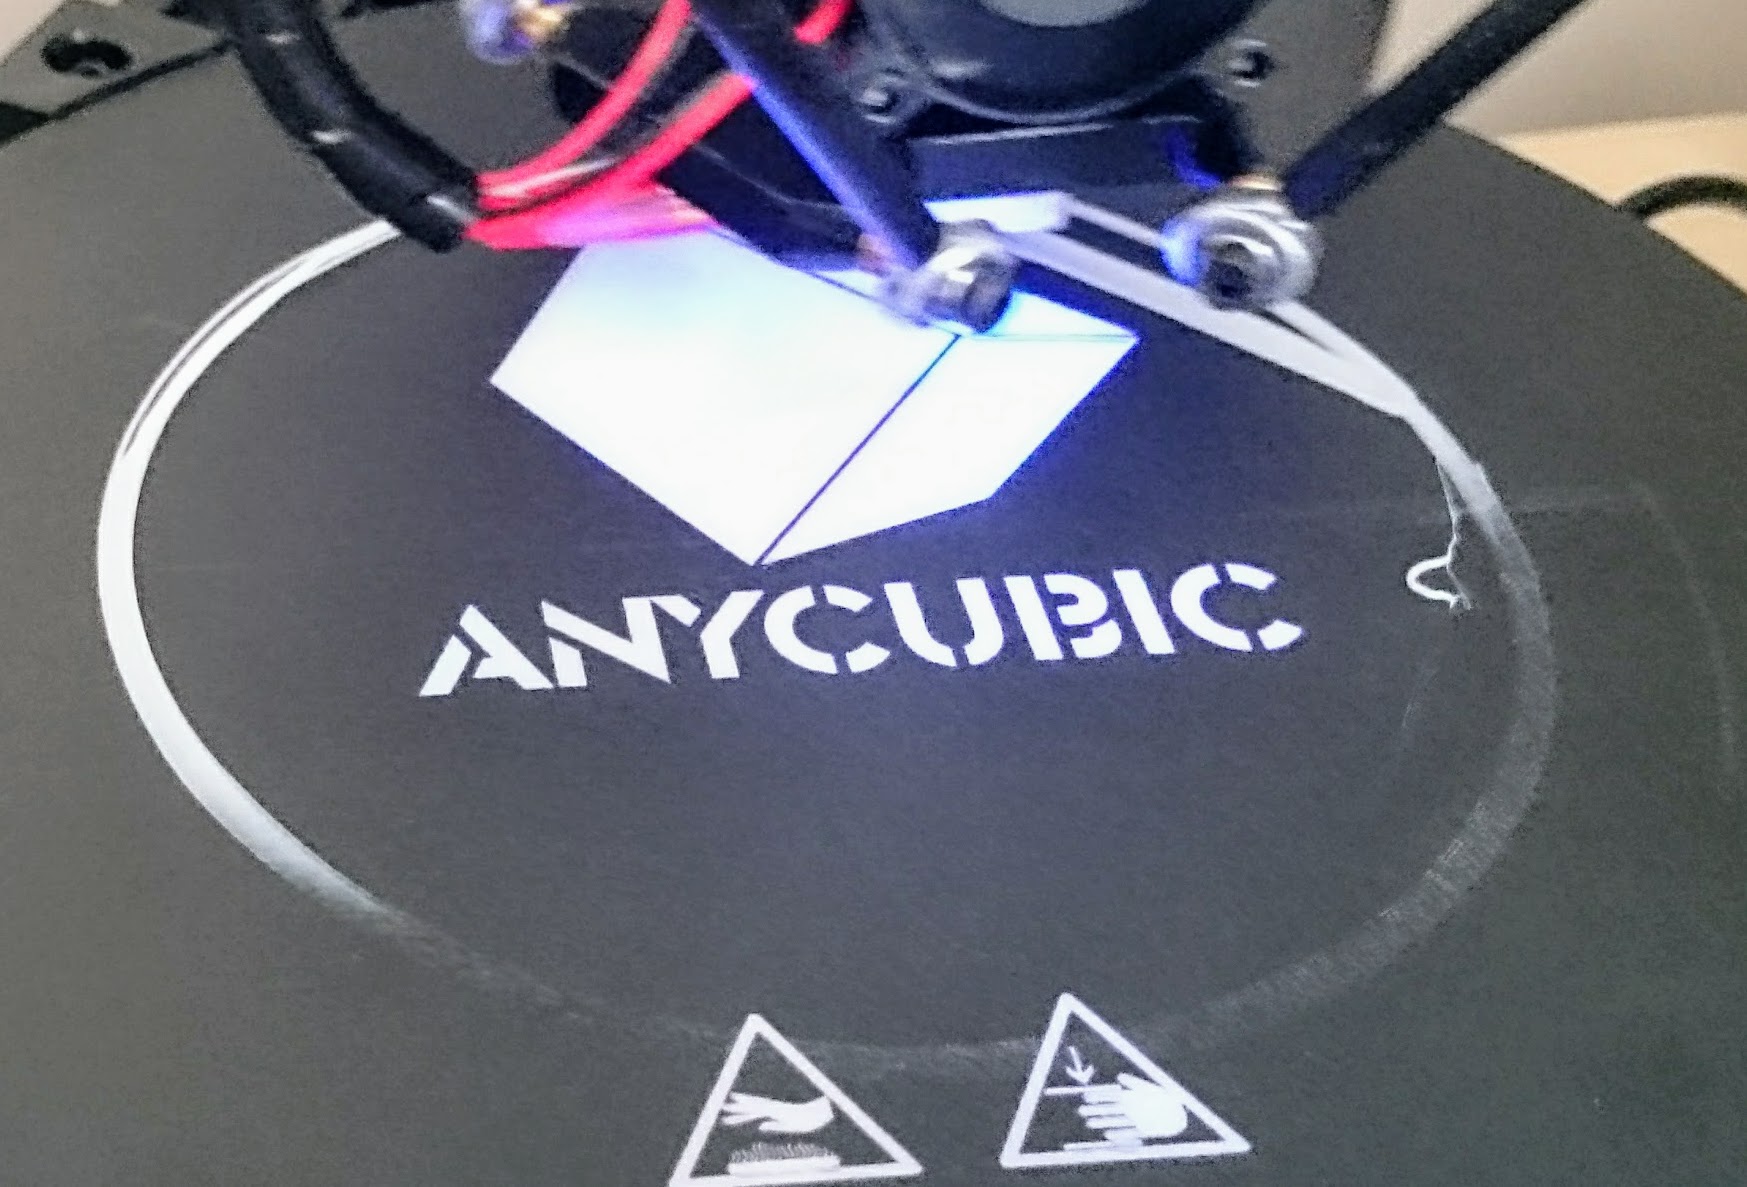
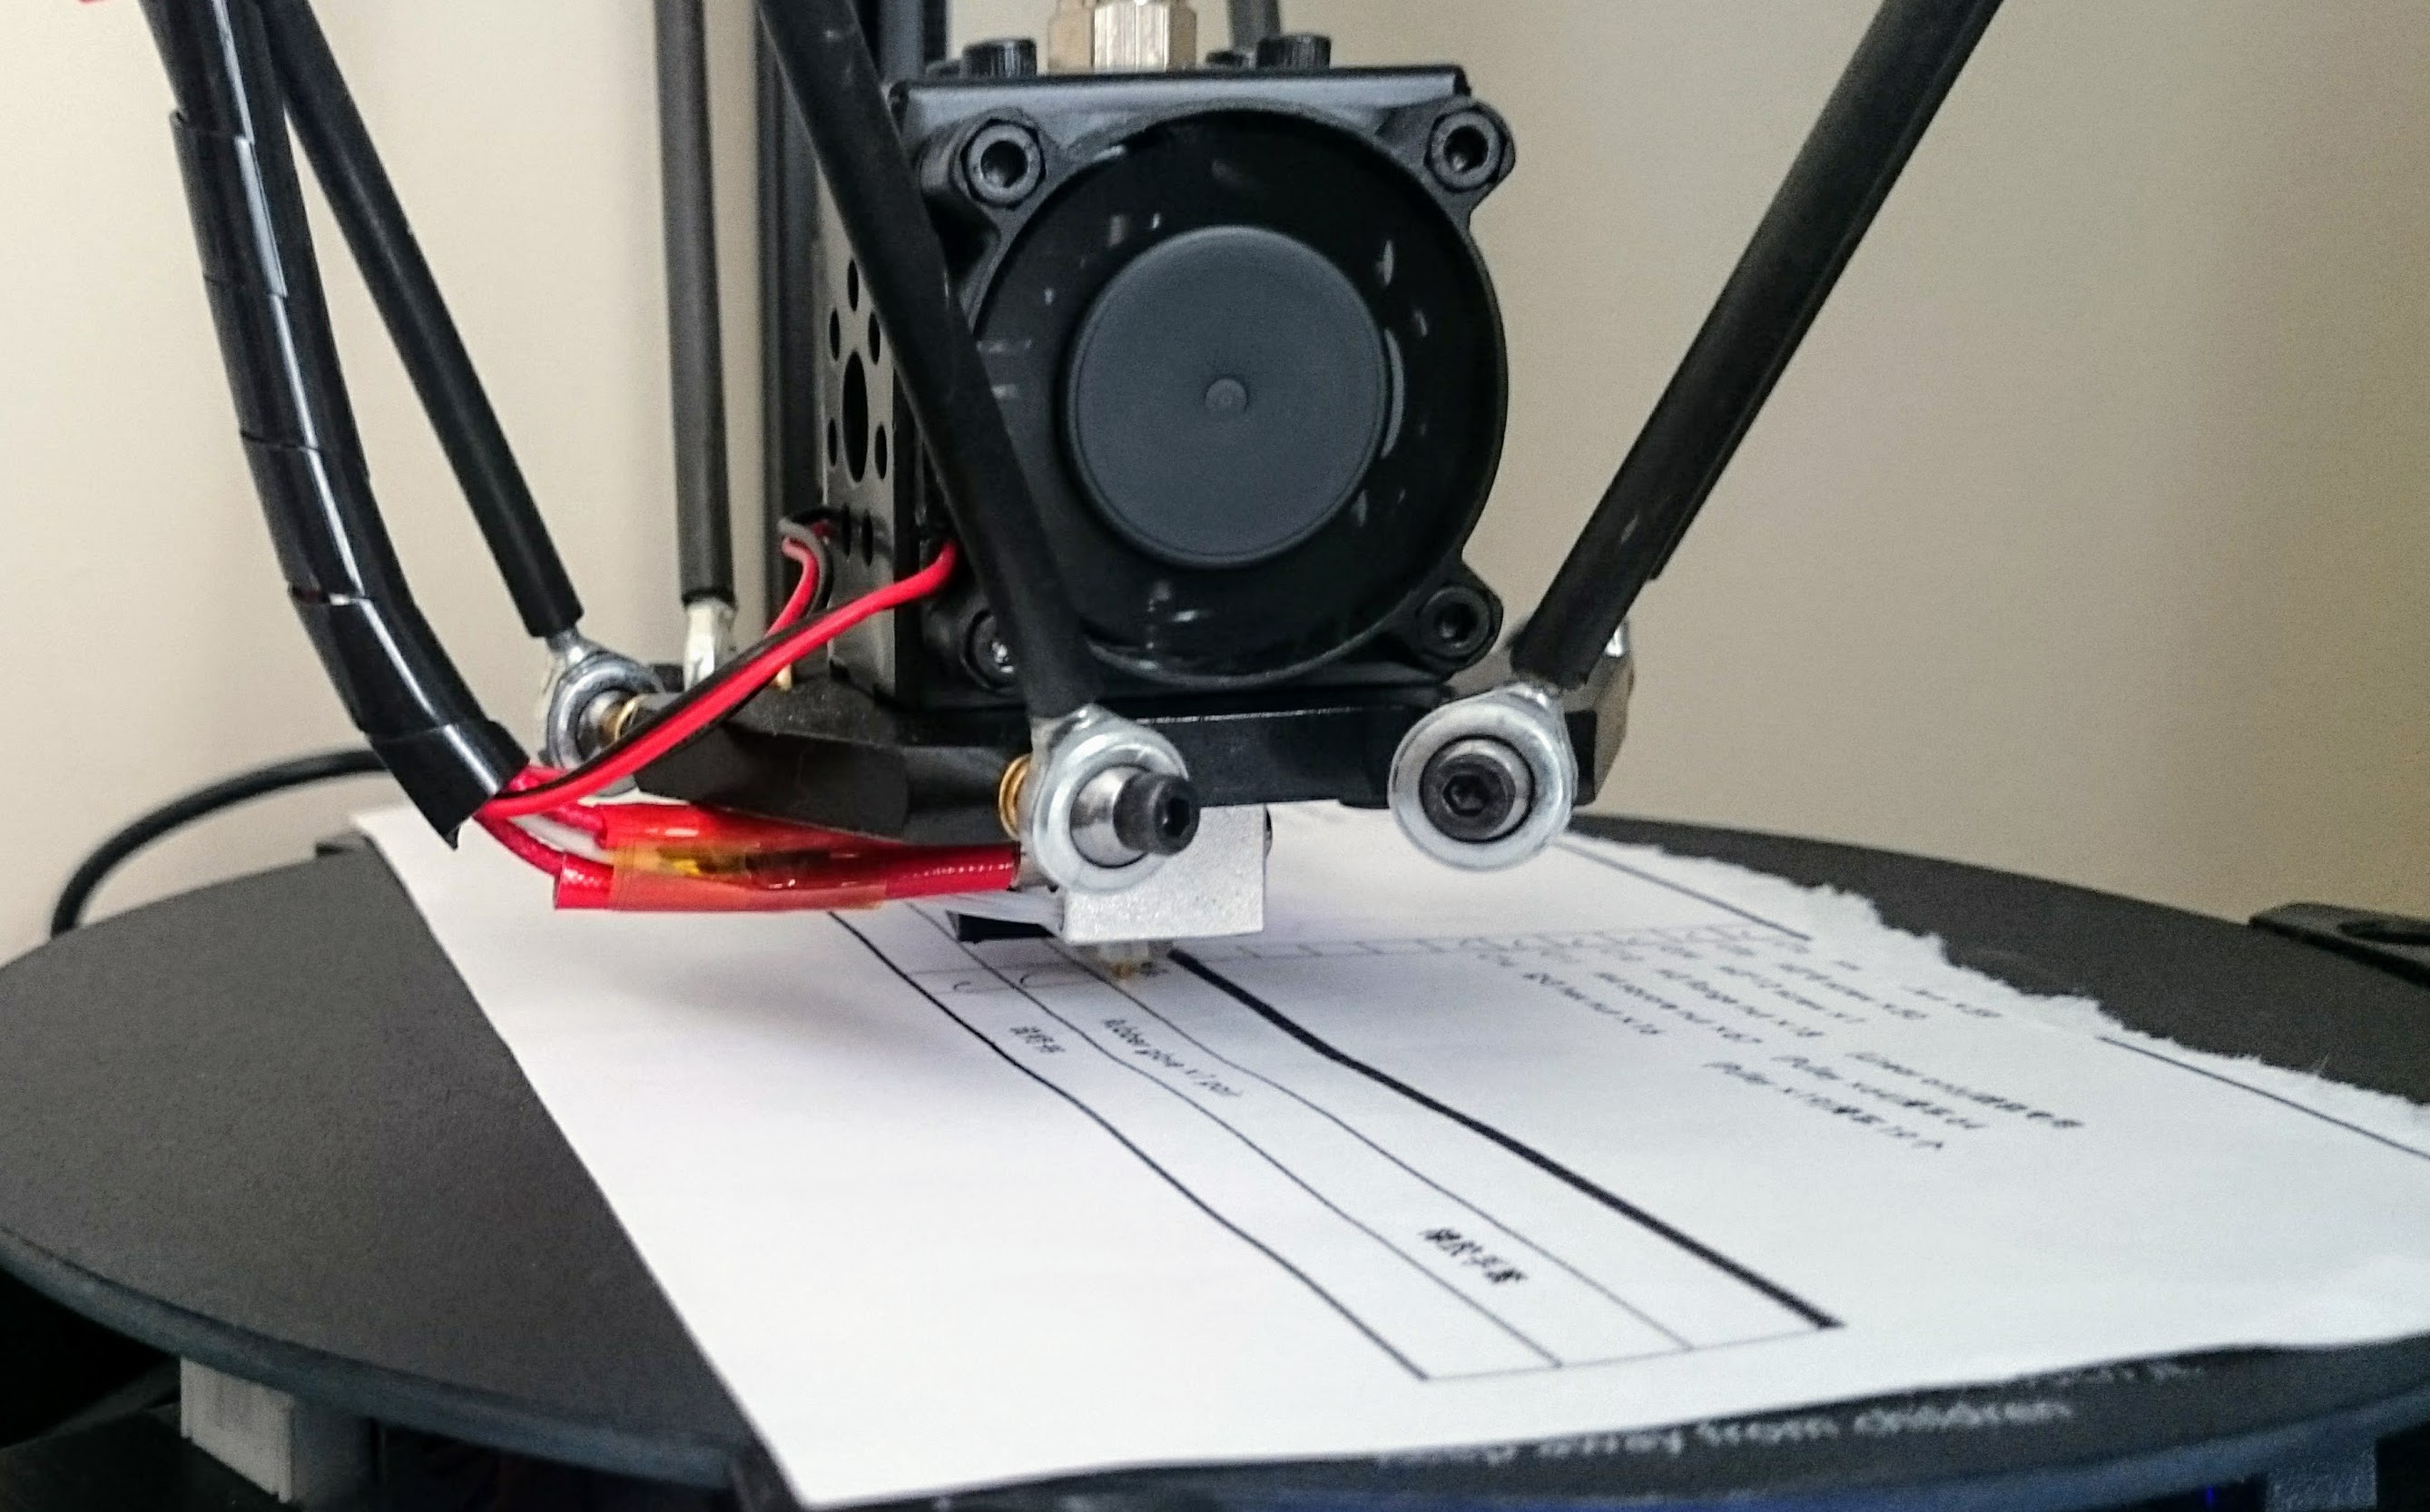
Of course, I tried to print something before using the Blu-Tack technique, but, as you can see in the picture below, one side was almost scrubbing the nozzle against the bed while the other was floating.
The solution to my problem started by connecting into my 3D printer using Printrun Proterface, running the homing procedure for all axis (just click on the grey icon with a house) and lowering the hot end until it was close to touch the bed using a sequence of G-codes like this: G1Z100, G1Z50, G1Z10, G1Z1, G1Z0.5.
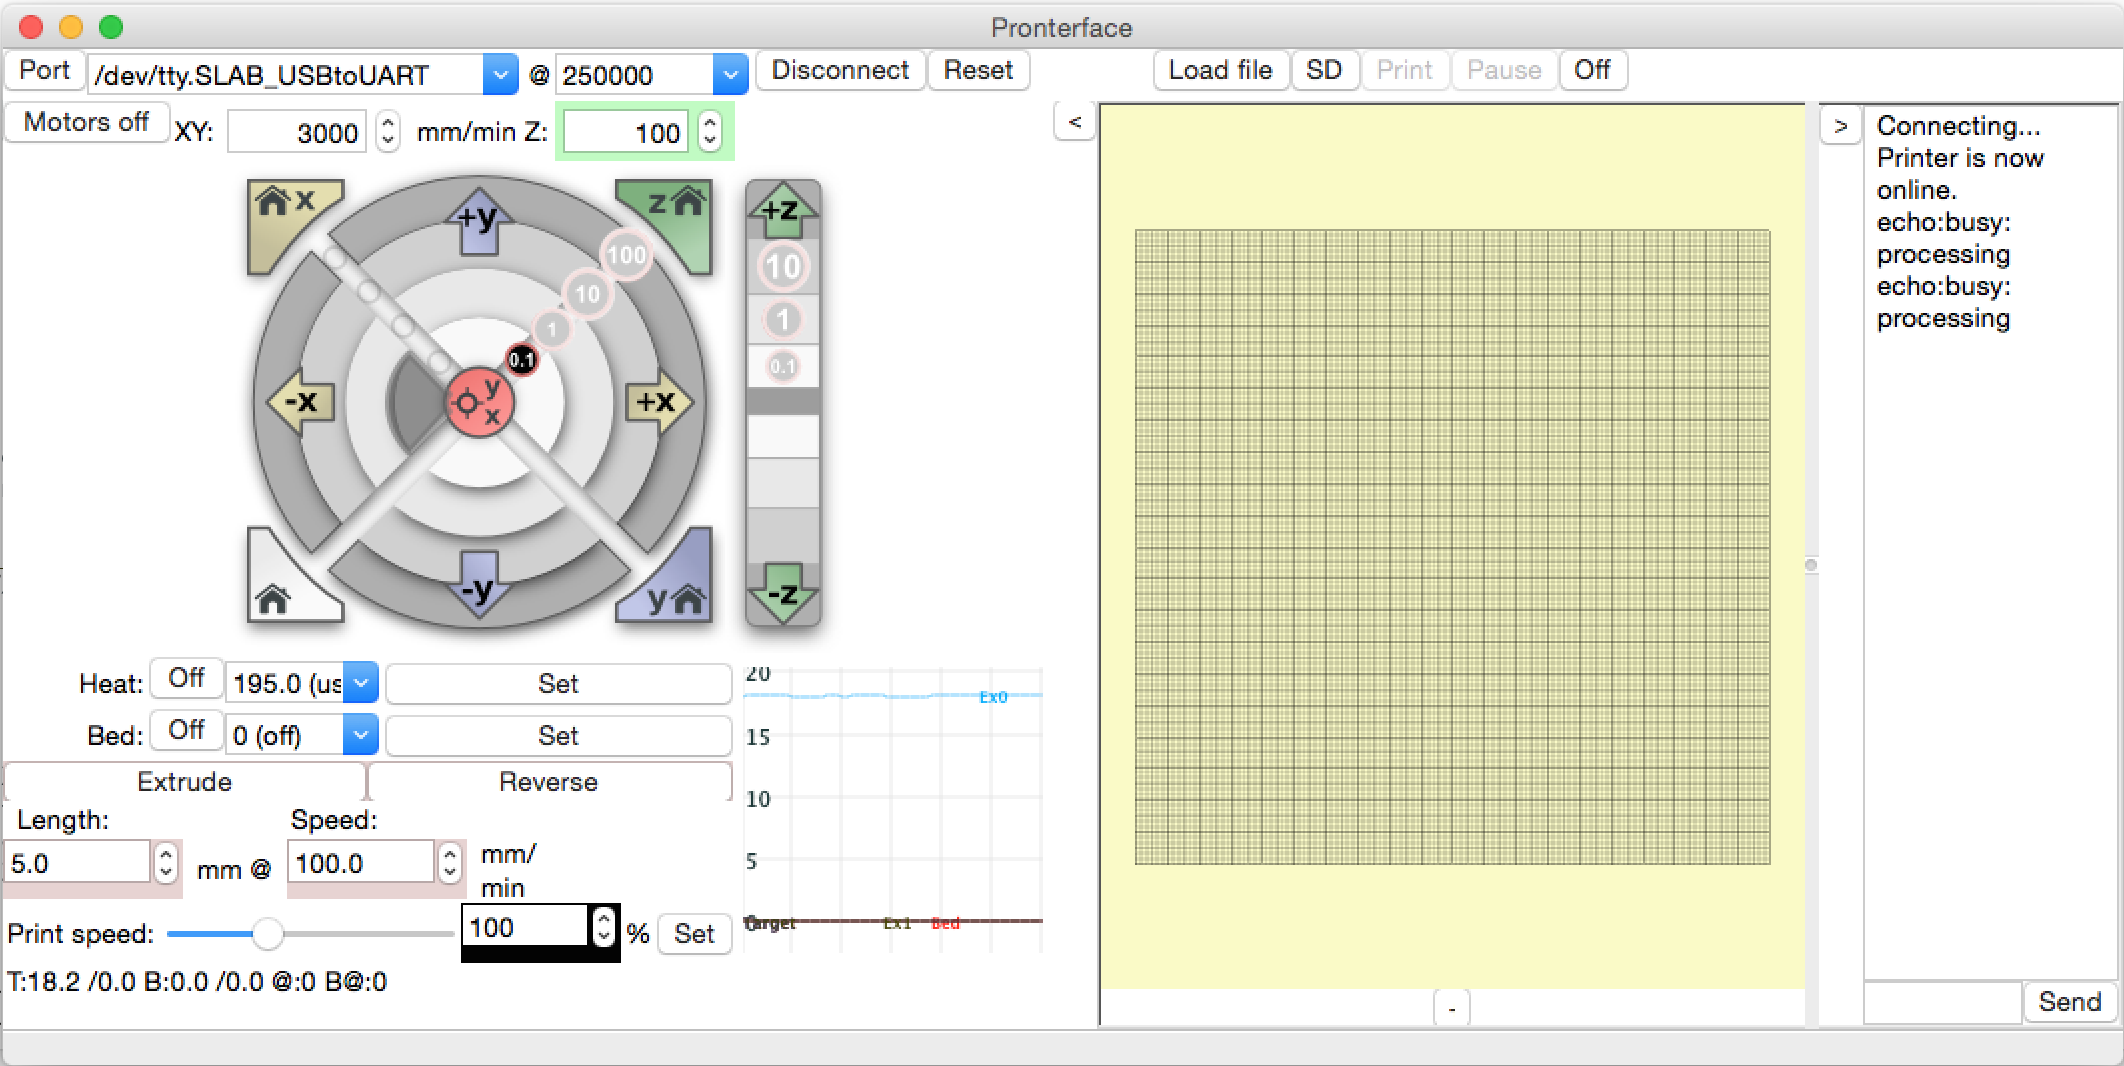
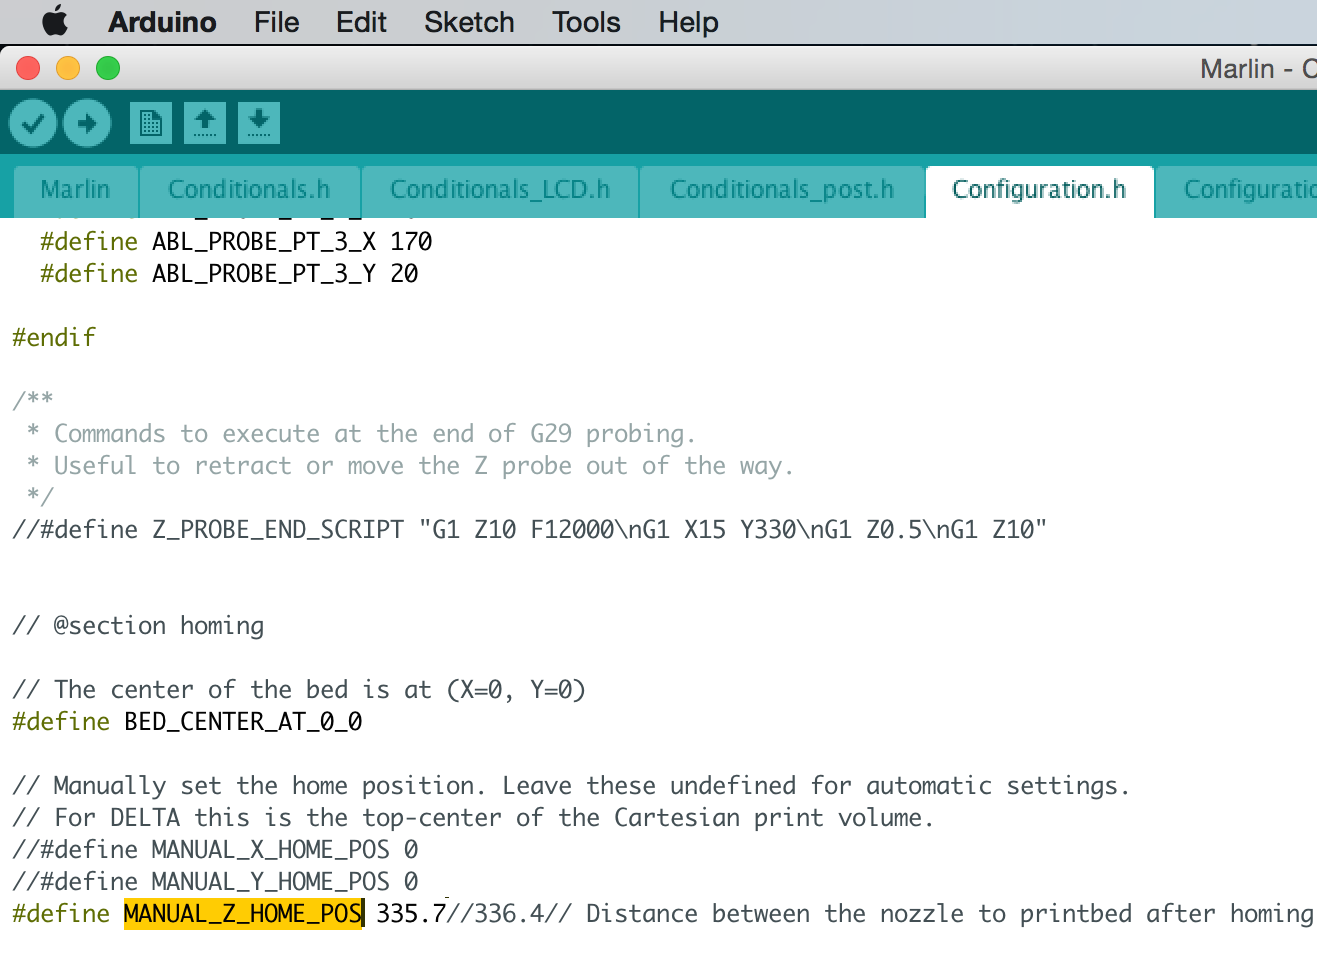
Please, be careful: if your firmware (Marlin) has a crazy value for MANUAL_Z_HOME_POS (inside Marlin Arduino sketch, file Configuration.h), or even maybe if you forgot to do the homing, the G-codes I’ve just passed may damage your printer ![]() . Also, if
. Also, if min_software_endstops is set to true you will not be able to drive negative values for Z like G1Z-0.6.
After that, I used the famous piece of paper method and moved the hot end around to verify the distances noticing the directions where the distance was increasing / decreasing.
It’s important to highlight some details about delta printer calibration. Usually, you need to correct, via firmware, problems related with a convex/concave movement pattern and these problems are more directly connected to printer inner part dimensions. Here, I’m just leveling the bed.
Knowing where the hot end was rising in relation to the bed after the paper test, I added little balls of Blu-Tack sized accordingly to those visual measurements.
I put the 3D printer bed back and gently (maybe not so gently) pressed it against the Blue-Tack. The idea is to use the hot end to level the surface, but to avoid losing steps, or damaging the nozzle, it is necessary to roughly adjust the heights beforehand. After that, using Printrun Proterface, I connected to my printer and commanded the hot end to move using, again, the G-code sequence: G1Z100, G1Z50, G1Z10, G1Z1, G1Z0.5.
There is a big caveat with my Blu-Tack method: you must redo it after every print ![]() . However, you can use it to print a bed leveler like I did.
. However, you can use it to print a bed leveler like I did.
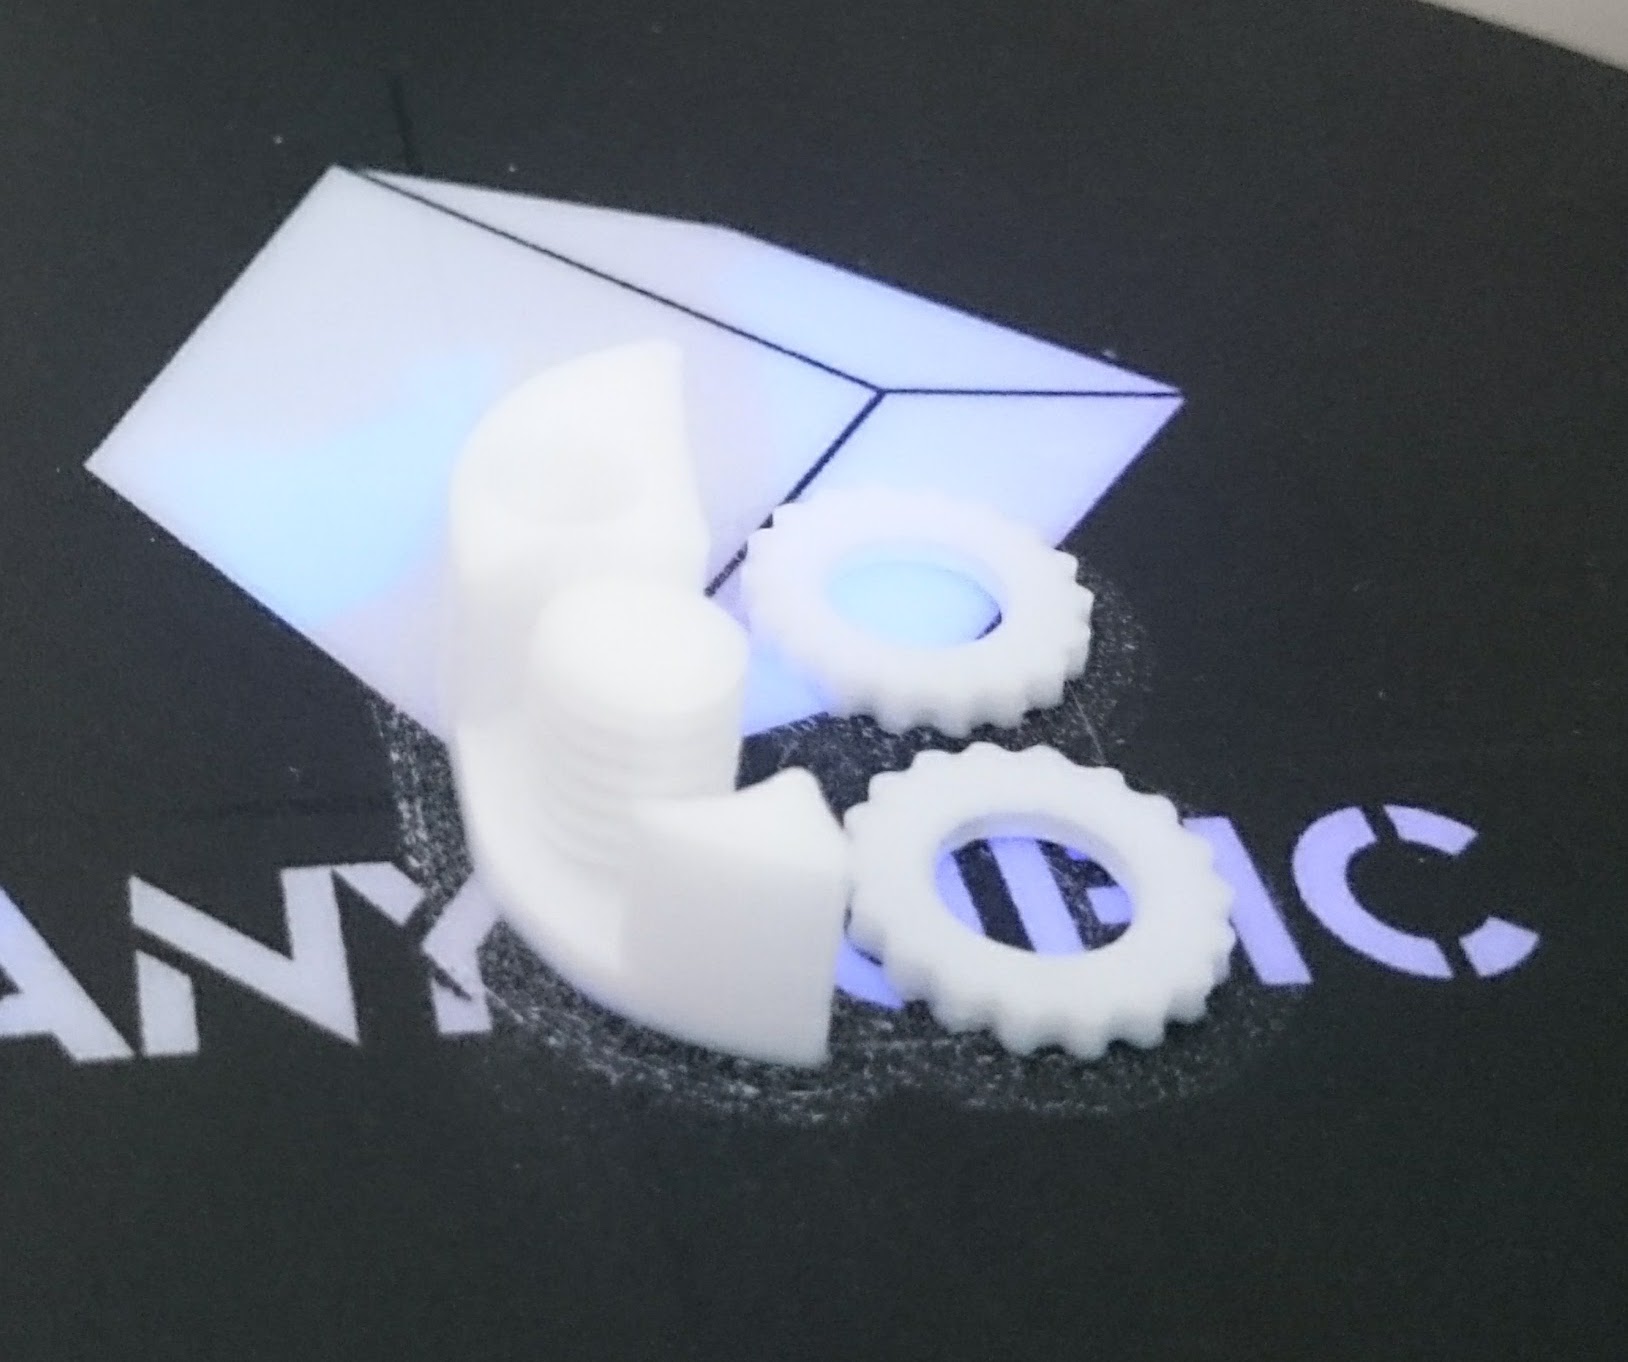
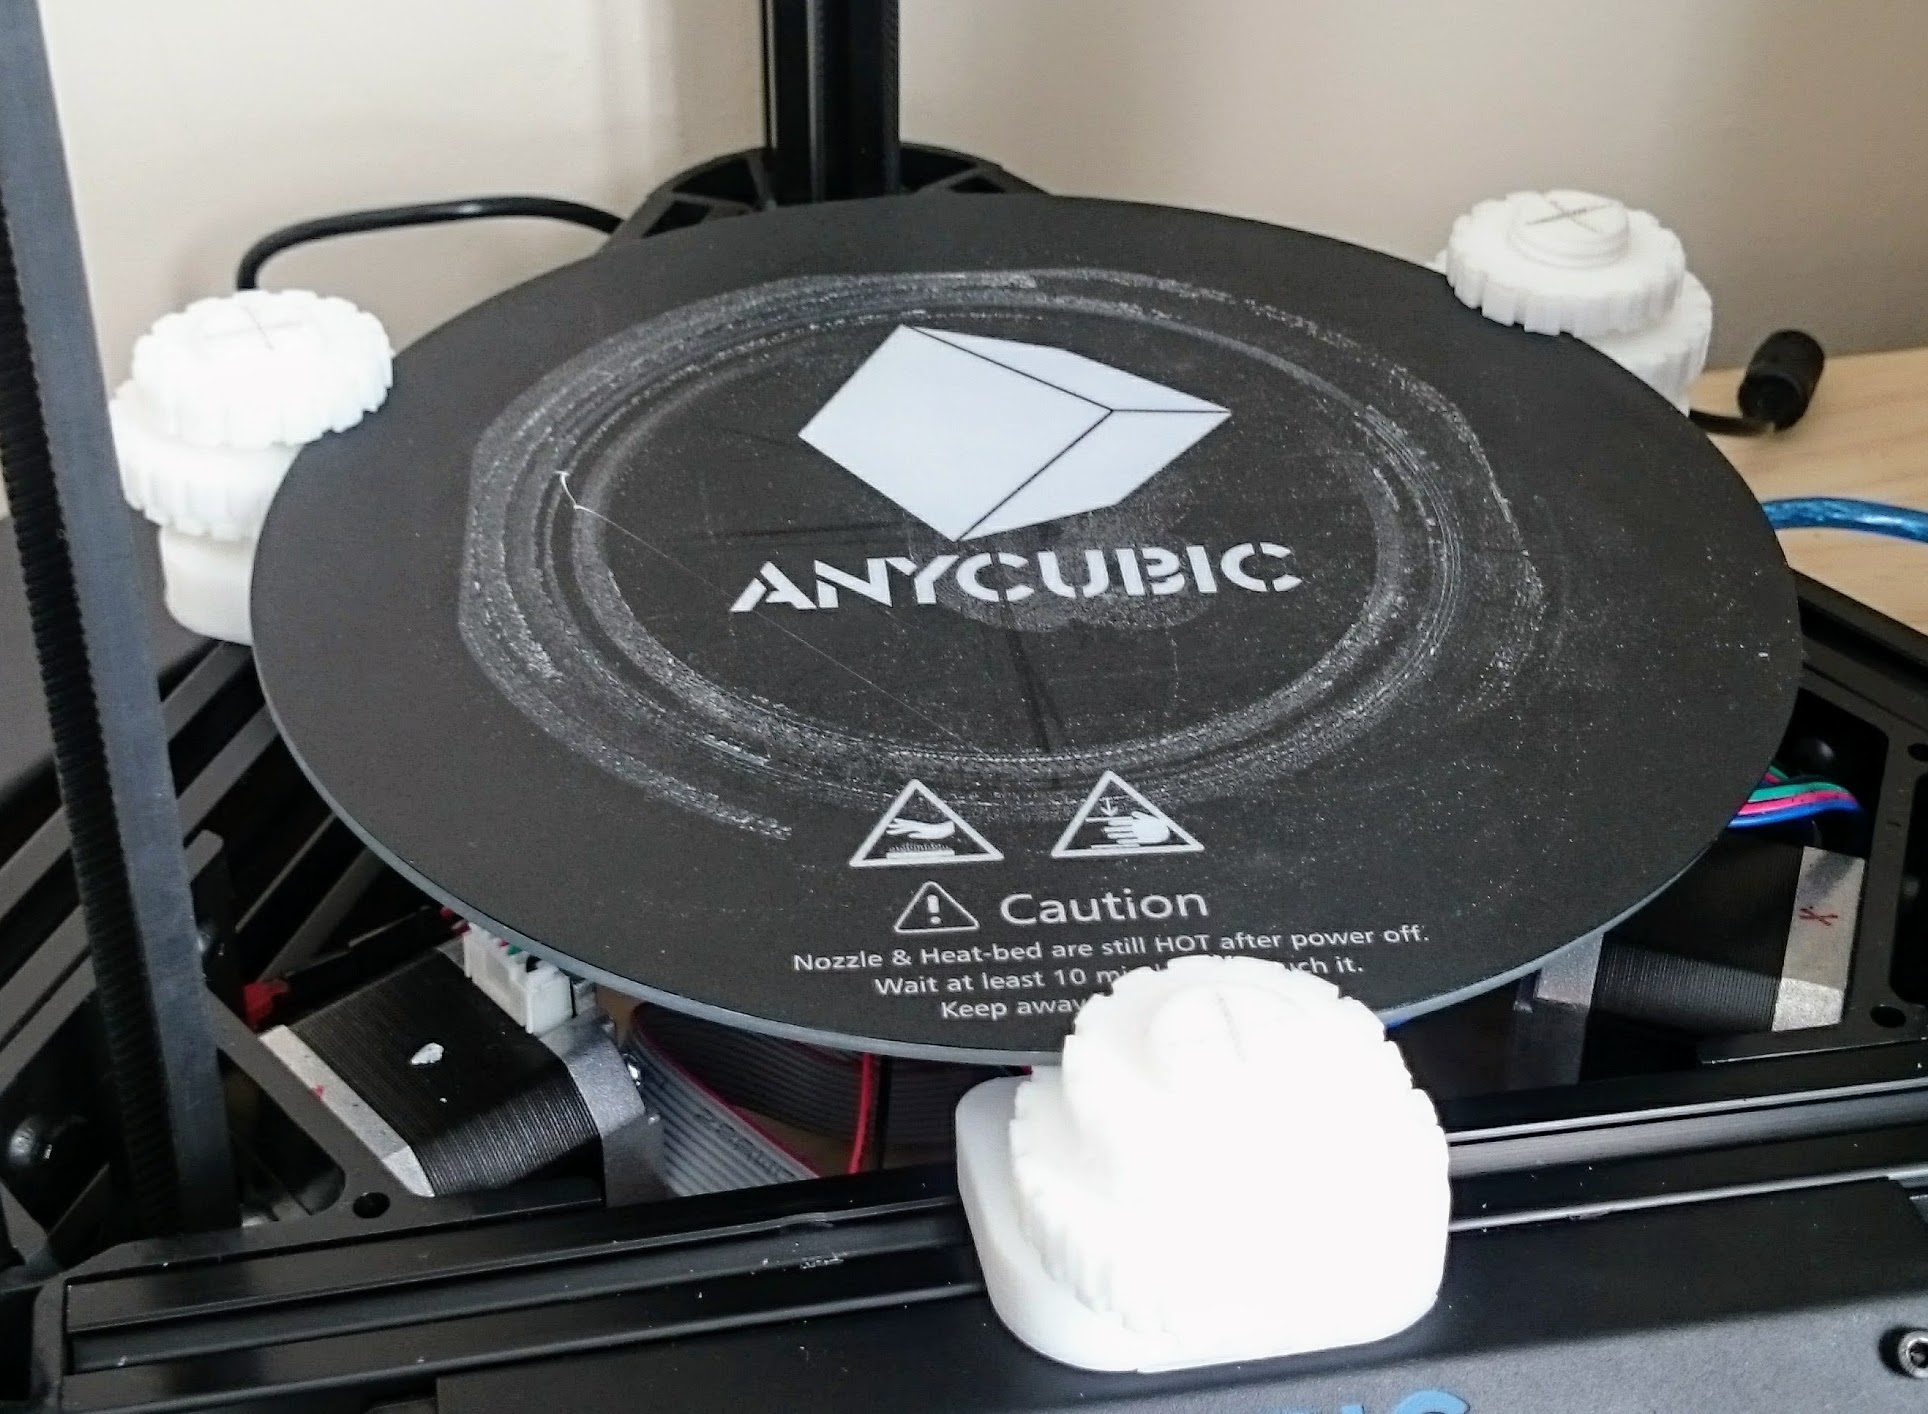
Despite that, my printer was still not properly leveled because the range of possible heights was too small. So, I decided to design and print my very own bed leveler and, while it is not perfect, finally I can use my printer without incessant recalibrations.
And everything worked fine at the end because I was able to calibrate the 3D printer using my current best-loved hacking accessory: Blu-Tack ![]() .
.
Cheers!
UPDATE (23/04/2017):
I created a G-CODE file to automate the manual bed leveling a little bit. It is working with Marlin firmware (1.1.0 RC8) and you just need to print that file (pressing the button to advance each step) to position the nozzle helping you to adjust the bed. However, I have no idea which side effects it could have in a printer different from mine, so use it at your own risk and change it (any text editor with a pure soul) according to your taste!
Affiliated links
If you want to support my work, you can get your hands on a delta 3D printer from Amazon (or anything else, really) using the affiliated links below:
- FLSUN T1 Pro Delta 3D Printer (Print volume: 260(D) x 330(H) mm)
- MALYAN M300 Mini Delta 3D Printer (Print volume: 110(D) x 120(H) mm)
You lose nothing and I (may) get a few peanuts from Amazon.